

Key Takeaways
- Clear, recent source portraits are the foundation of a convincing result.
- Simple poses and assigned positions help preserve each person’s identity.
- Consistent light, scale, color, and camera angle make separate faces feel like one scene.
- Generating several controlled versions is more effective than trying to perfect one prompt.
- Consent, privacy, and accurate disclosure matter as much as visual polish.
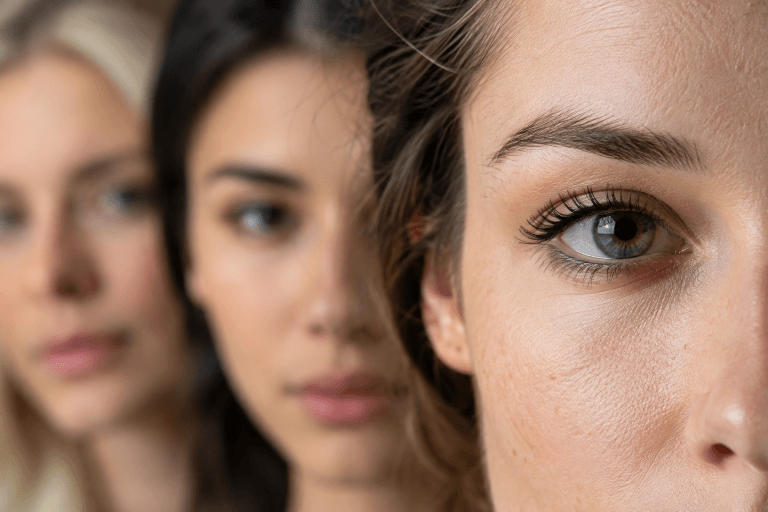
AI group portraits can bring people together visually when a traditional group photo is impractical. A multiple face swap workflow can place several people into one shared composition, whether the goal is a team page, band artwork, family keepsake, club poster, or creative social post.
The strongest results do not depend on complicated effects or unusually long prompts. They begin with a clear visual goal, usable source images, and a layout that gives every person enough room to remain recognizable. AI can help assemble the scene, but careful planning and human review determine whether it feels believable.
Why AI Group Portraits Can Be Useful
A shared portrait can be difficult to arrange when people live in different places, have conflicting schedules, or need an image for a fast-moving project. AI-assisted compositing provides a flexible alternative for creating a polished visual that represents a group without requiring everyone to be in the same room at the same time.
That flexibility has limits. A generated image is not evidence that a real gathering happened, and it should not be presented as documentary photography when the people were photographed separately. Treat the result as a designed portrait, not a record of an event.
Start With A Clear Visual Goal
Decide what the image needs to accomplish before selecting photos or writing a prompt. A company profile may call for a bright studio portrait, while a birthday card can support a playful setting. The principles of portrait photography, including purposeful lighting, background choice, and pose, are still useful even when the final image is AI-assisted.
- Define the intended audience and where the image will appear.
- Choose a realistic, editorial, casual, cinematic, or stylized finish.
- Select portrait, landscape, or square framing early.
- Set a simple mood, such as warm, formal, celebratory, or relaxed.
- Start with a straightforward scene before adding dramatic props or effects.
Choose Better Source Images
Source quality strongly affects likeness. Use portraits that are sharp, recent, evenly lit, and large enough to show facial features clearly. A face that is hidden by sunglasses, motion blur, extreme shadow, or a heavy beauty filter gives the system less reliable visual information to work from.
Useful Source Image Checklist
- Use a front-facing photo or a portrait with only a slight turn of the head.
- Keep the eyes, face shape, hairline, and ears visible when possible.
- Choose natural expressions rather than exaggerated poses.
- Avoid strong color effects, face-smoothing filters, and distracting accessories.
- Use similarly sized images when possible.
- Replace the weakest portrait before changing the entire prompt.
Plan The Group Layout Before Generating
Clear placement reduces confusion. A row of two to four people, or a shallow triangle with one person slightly forward, is usually easier to control than a crowded arrangement with overlapping heads and hands. Give each person a defined position, such as left, center, or right.
- Decide who will stand or sit in each location.
- Keep enough visible space between faces.
- Use similar head sizes unless one person is intentionally in the foreground.
- Describe body direction, eye level, and whether subjects look at the camera.
- Leave complicated props out of the first version.
Match Lighting, Color, And Perspective
A group portrait can look assembled rather than photographed when each face appears to come from a different environment. Aim for one main light direction across the finished scene. If the light falls from camera-left, facial highlights and shadows should support that choice for every person.
- Keep shadows beneath chins and around noses consistent.
- Match the warmth or coolness of the scene across faces and clothing.
- Use a similar camera height and perspective for all subjects.
- Keep skin texture natural instead of smoothing every face heavily.
- Apply final color adjustments to the completed image rather than treating each person as a separate portrait.
Write Short, Specific Prompts
A useful prompt describes the scene without burying the important details. State how many people appear, where they stand, what they wear, the setting, the light, and the intended mood. Add realistic anatomy, natural expressions, and consistent facial detail as quality goals, then allow the first render to reveal what needs refinement.
Simple Prompt Structure
- Subjects: State the number of people.
- Placement: Specify left, center, right, front, or back positions.
- Setting: Name a clean studio, office, garden, stage, or other background.
- Lighting: Describe one primary light source and direction.
- Style: Choose a natural, editorial, casual, or cinematic look.
- Quality controls: Request clear facial features, realistic proportions, and natural expressions.
Generate Several Versions, Then Compare
Consider the first output a draft. Generate a small set of variations while keeping the same source images and core prompt. Change one detail at a time, such as spacing, backdrop, clothing color, or light direction, so it is easier to identify which adjustment improved the image.
Review candidates at full size. Look closely at eyes, teeth, ears, hairlines, hands, clothing edges, and accessories. Save the strongest version before continuing, because a later attempt may improve one subject while making another less recognizable.
Fix Common Problems Without Overediting
- A face looks soft: Replace the source image with a sharper portrait and regenerate.
- Skin tones do not match: Simplify the lighting description and use a unified color adjustment at the end.
- Faces look too similar: Assign positions clearly and use stronger individual reference photos.
- Hands or props look incorrect: Reduce overlap, simplify the pose, and remove unnecessary objects.
- The image feels pasted together: Recheck subject scale, shadow direction, perspective, and background light.
Review Consent, Privacy, And Disclosure
Ask every person for permission before using their likeness. This is especially important if the image will be shared publicly, used in marketing, or placed in a humorous or fictional setting. Avoid creating images that could embarrass, mislead, or harm the people shown, and store original photos with appropriate care.
When the workflow supports it, Content Credentials can help document an image’s origin and editing history. A clear caption, such as “AI-assisted group portrait” or “Created from separate reference photos,” can also help viewers understand what they are seeing.
Use A Final Human Quality-Control Pass
Before publishing, check that every person remains recognizable and that the scene makes a truthful claim about what occurred. Confirm that eyes, mouths, hands, hairlines, clothing, shadows, and background details look coherent. A believable AI group portrait is not simply sharp. It is respectful, consistent, and honest about how it was made.